
Phone ordering guide

How to turn your phone photos into custom photo magnets.

Your camera roll already holds the memories. This guide focuses on the practical phone workflow: organizing the files, finding originals, planning repeats, uploading, and leaving useful notes before checkout.

Camera roll workflow Phone uploads Original files Duplicate notes
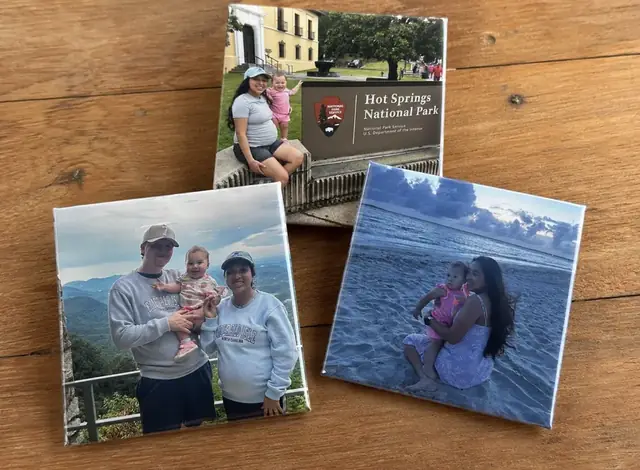
Custom photo magnets created from personal phone photos
Start here

Use your phone as the organizer, not just the camera.

You usually do not need to export photos to a computer before ordering. A phone can handle the full preparation process when the final images are easy to find and you know which ones should repeat.

This guide intentionally focuses on workflow rather than detailed photo-selection advice. If you are still deciding which picture is strongest or how a square crop will look, use the separate Best Photos guide.

The simplest process is to make a shortlist, locate the original files, decide the order and duplicate pattern, then upload without repeatedly cropping or re-saving the image first.

1. Shortlist

Favorite your final candidates in one temporary album.

Use Favorites or a temporary album in your phone's photo app so you are not scrolling through years of pictures while checkout is open.

For a six-pack, collect the final candidates first and remove obvious near-duplicates unless repeating the moment is intentional. The goal is simply to make the upload step predictable.

2. Originals

Locate the original file before using a screenshot or social-media save.

If the photo exists in your camera roll, use that version rather than a screenshot of Instagram, Facebook, Messages, or another app. Original files normally preserve more useful detail.

If a screenshot or forwarded copy is genuinely the only version you have, use the clearest available copy rather than abandoning a meaningful memory.

3. Repeats

Plan duplicate magnets before uploading.

You do not need to create several duplicate image files just because the same photo should appear on more than one magnet. Upload the photo once and explain the repeat pattern in the order notes.

A simple note such as 'photo 1 x3 and photo 2 x3' is easier to understand than six renamed copies of the same image.

4. Upload

Upload the best file and use notes instead of destructive edits.

Avoid zooming far into an image, taking a screenshot of that zoom, and uploading the screenshot. That can discard useful image detail before the order is even reviewed.

If a crop matters, upload the strongest original and add a note such as 'keep the graduation cap visible' or 'keep both people in the square crop.'

5. Final check

Match the number of intended magnets to the order before you submit.

Before finishing checkout, confirm that the selected pack or packs match what you intend to make and that your notes explain any repeated photos.

If you are ordering more than one pack, think about the combined magnet count and make sure the upload plan accounts for the magnets that actually need photos.

After you choose your photos

Choose the pack before finalizing your upload list

Your photo shortlist should match the number of magnets you intend to make, with notes covering any repeats.

12 Photo Magnets

A larger set when you have more memories to include.

$35Choose this pack
Questions

Ordering from your phone questions

A few practical answers before you upload your photos.

Can I order custom photo magnets directly from my phone?

Yes. You can choose a pack, upload photos, add notes, and continue through the online order process from a phone.

Do I need to crop every photo into a square first?

No. Upload the best original file you have and add a note when a particular crop or detail matters.

Do I need to upload the same photo several times for duplicates?

No. Upload it once and explain how many copies you want in the order notes.

Can I use a screenshot if that is the only copy I have?

Sometimes. Use the original when available, but if a screenshot is the only copy, upload the clearest version you have.